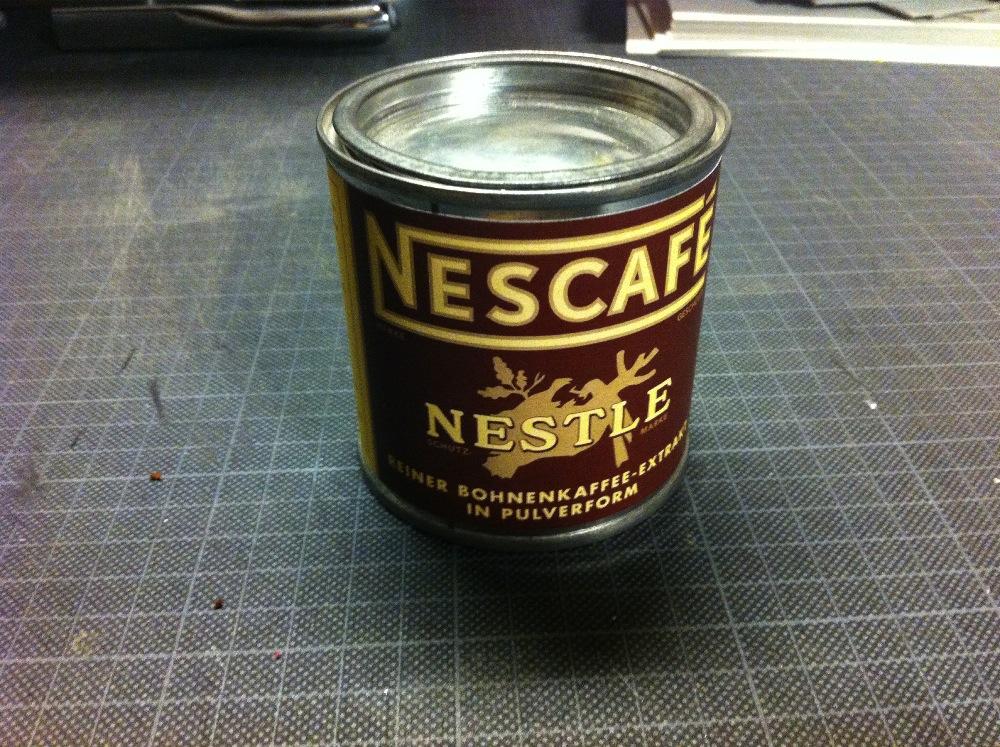
Well, this time we are going to assemble a tin of Nescafé. With this step by step “How to”, I will explain how you can do it. One of the most easiest things to do.
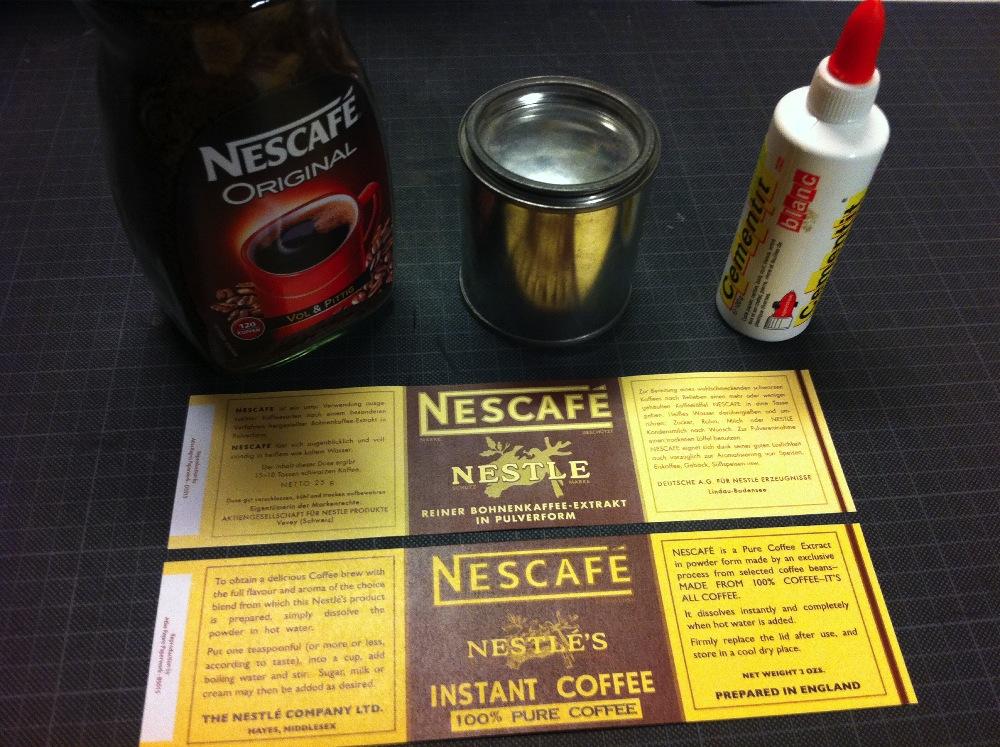
Step 1 – The materials:
– 1 Nescafé label (A British or German one from the shop)
– 1 Pot of instant Coffee
– 1 empty paint tin (250ml)
– Some glue
Step 2
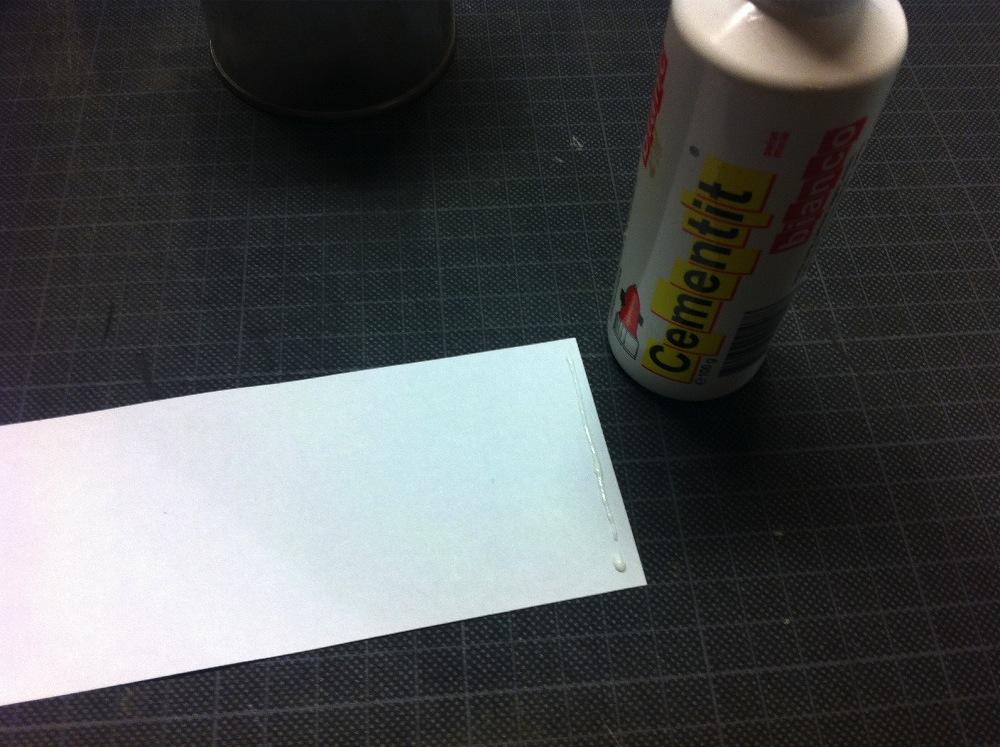
Put some glue on the backside of the label, on the side of the white disclaimer field and stick the label onto the tin.
Step 3
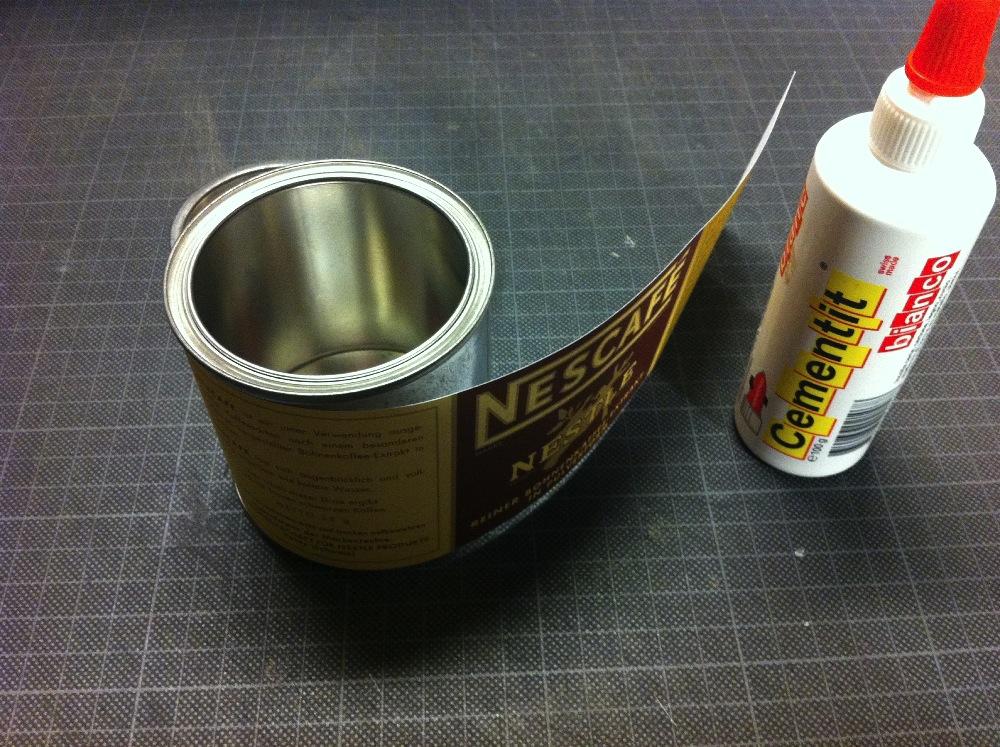
Wrap the label around the tin.
Step 4
Put some glue on the other end of the backside of the label and stick it onto the tin.
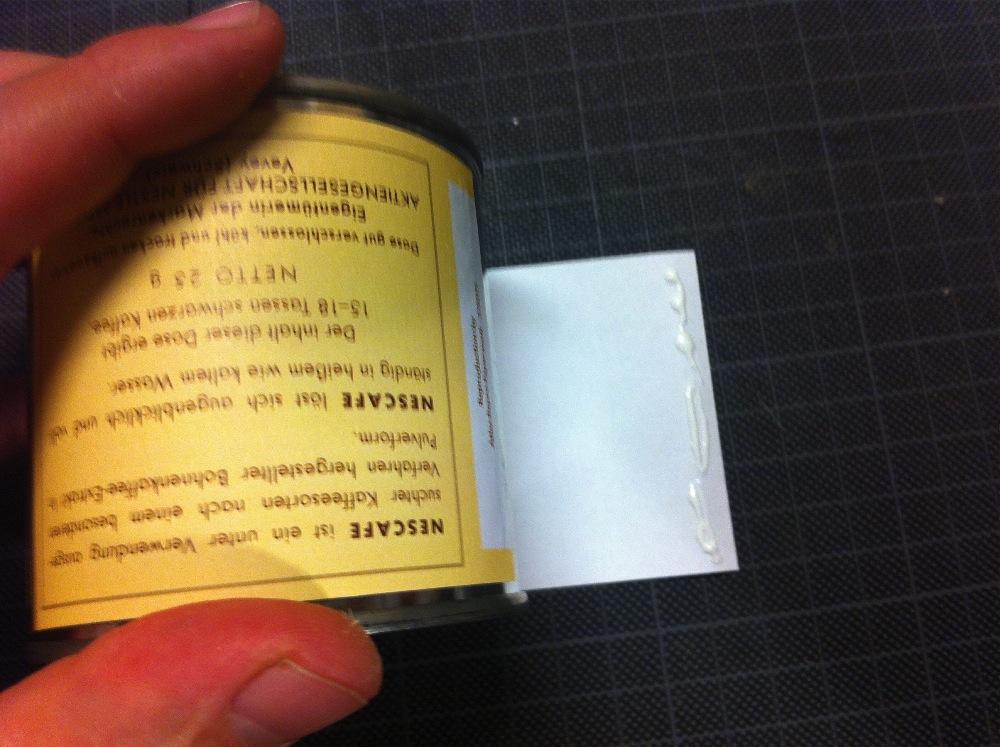
Step 5
Well done, you have managed to stick the label around the tin (An applause for yourself ;-)) That was quite easy, wasn’t it?
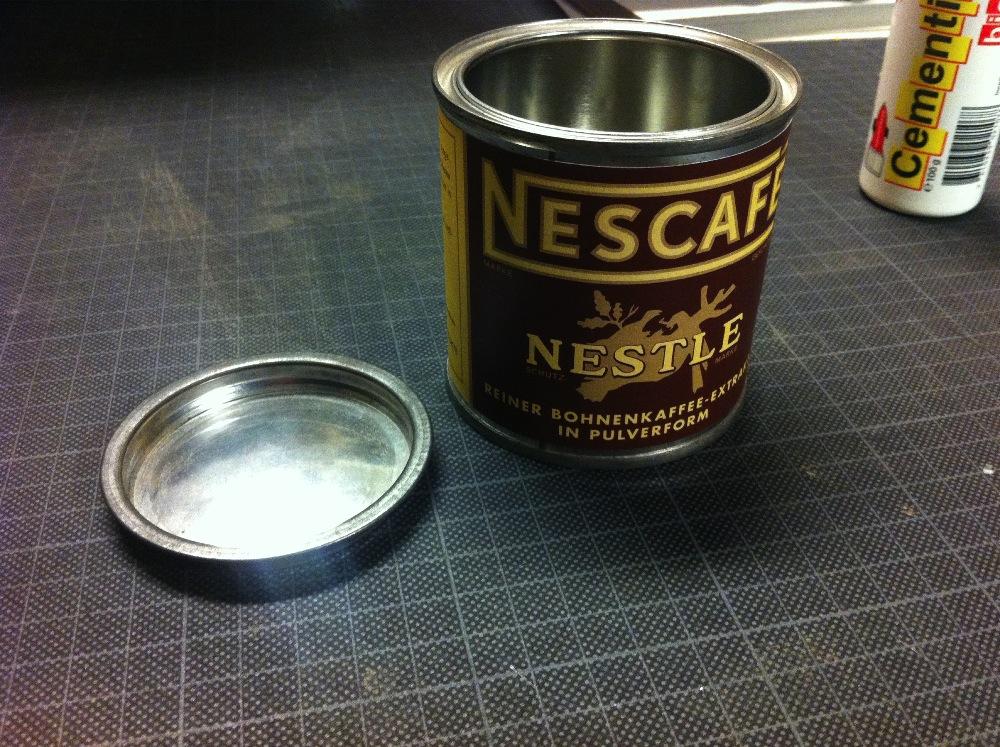
Step 6
This is even easier than the previous steps. Now we have to fill the tin with the instant Coffee from the pot.
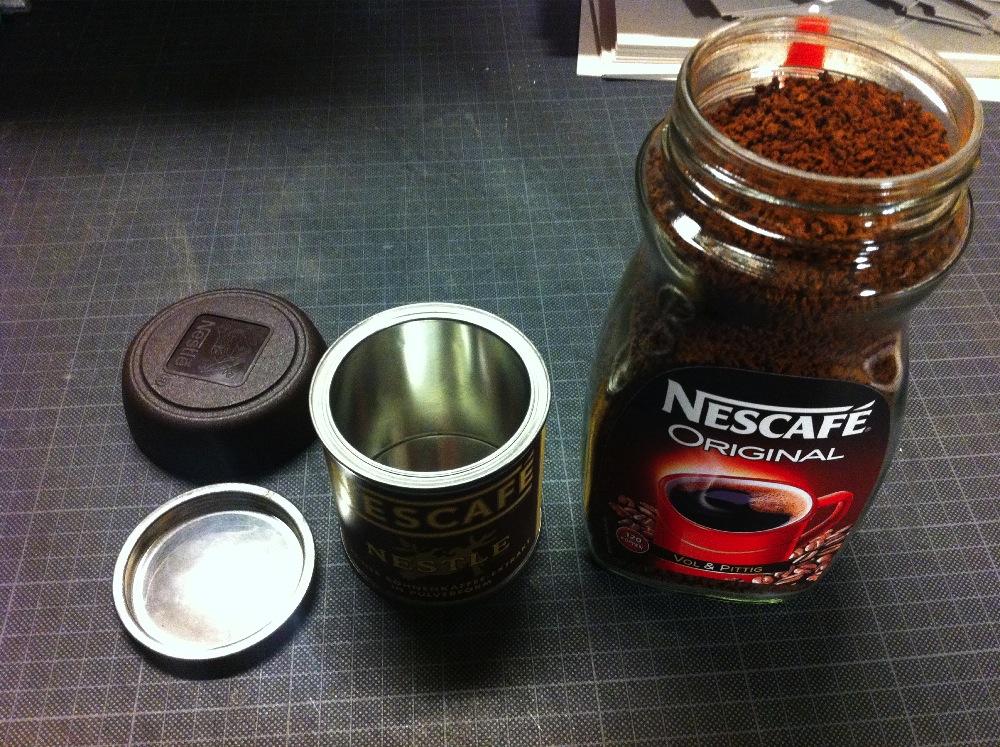
Step 7
Well done, the tin is filled. And now we have to close the tin with the lid and we are finished.
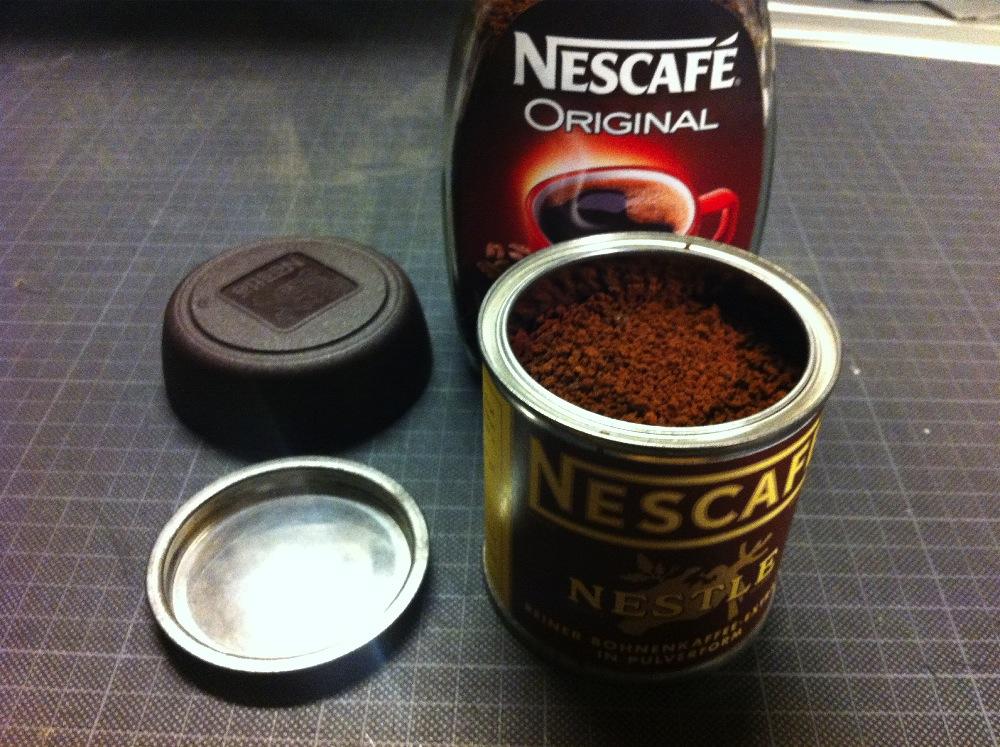
Last Step
Well, this last step is totally up to you. Since you have your tin of Nescafé done you can put it on display at your next show or use it to make yourself a cup of coffee at your next event. Have fun…
Not Available in the Shop?
Custom Orders
If you want something that is not available in the webshop, or if you have original piece of paperwork that you would like to have reproduced, or you want some paper props made for your next movie production, please get in touch me. Then I can see if I can make it for you.
